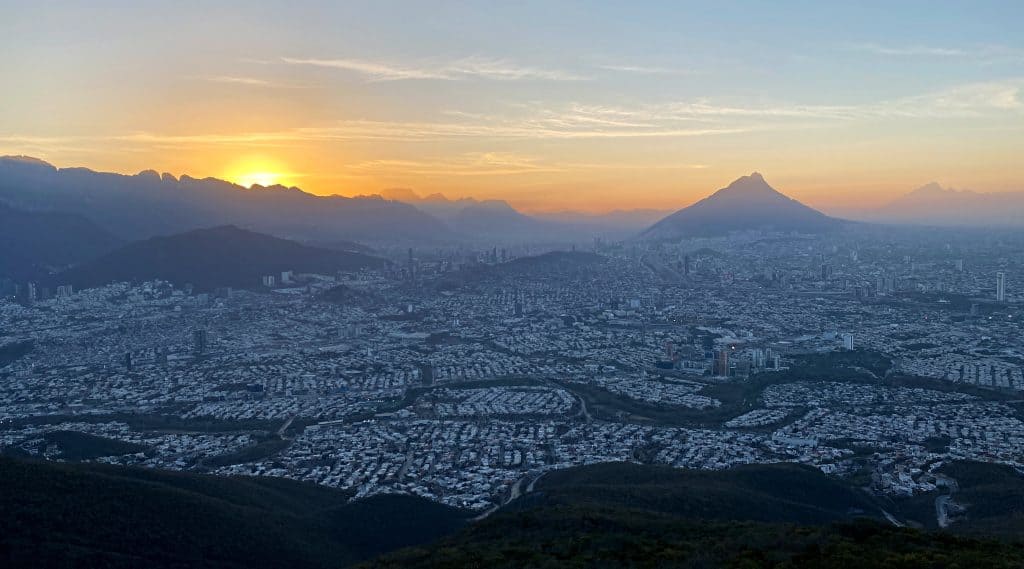
Hiking in Monterrey: The Ultimate Guide to the City of Mountains
Summits & Skies contains affiliate links. If you make a purchase using one of the links in this post, I may receive a small commission at no extra cost to you. I only recommend products and services I use and trust.
The prospect of sunrise from a mountaintop is one of the occasions I’d happily set a 2am alarm for. After accepting a job offer in Monterrey in 2016, it became a weekend ritual that has shaped every visit since.
There’s something addictive about embarking on a challenge while the city still sleeps; flying down roads that would soon be lined with traffic, the cooler air a welcome change from the usual suffocating heat. It’s a world that only exists in Monterrey before 4am.
Over the years, I’ve spent countless hours hiking Monterrey’s mountains – from scouting the best spots for sunrise to completing the Trilogía de las Montañas trail event and even leading hiking experiences on Airbnb.
I moved to Monterrey for work, but the mountains keep me coming back.
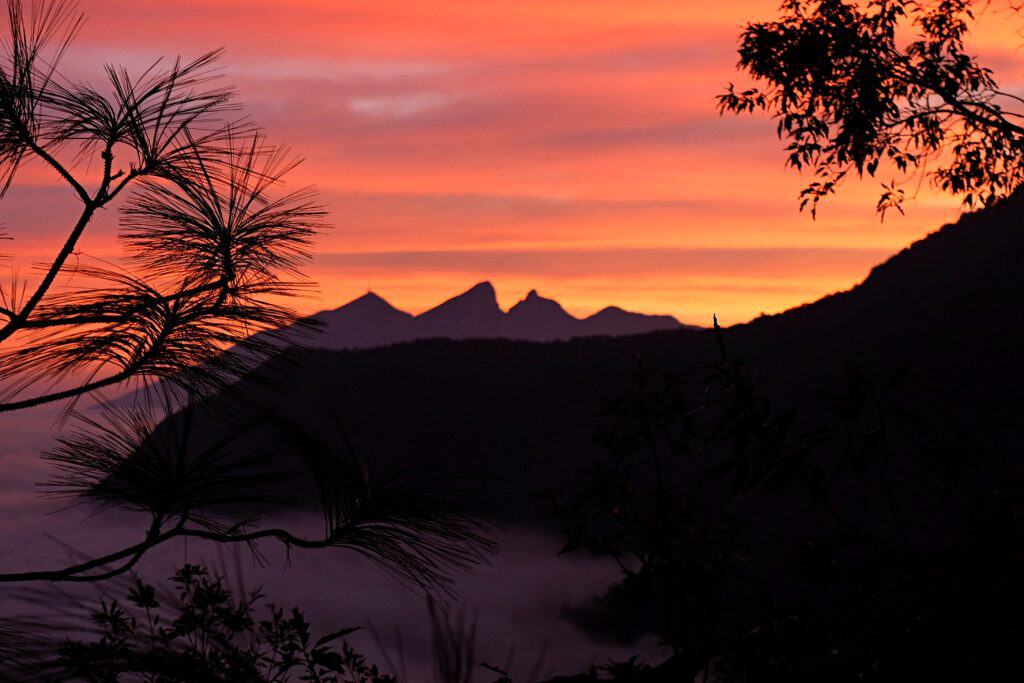
Despite how close the mountains are to the city, finding useful information on where to hike wasn’t always easy. My now-husband, Uri, was the first person to show me the trails, and the mountains quickly became a huge part of our lives. From there, the best adventures came through local recommendations and word of mouth; one hike leading to another, each trail wildly different to the next.
This is the guide I wish I’d had when I first arrived, built on a decade of returning to these mountains year after year. It covers the best hikes near Monterrey and everything you need to know to experience the city beyond the skyline.
Where is Monterrey?
Monterrey is the third largest city in Mexico and the capital of the state of Nuevo León – not to be confused with Monterey Bay in California, a common mix-up which nearly cost one of our wedding guests an expensive flight change. Located in the northeast of the country, it sits about two hours’ drive south of the Texas border.
Despite being surrounded by mountain ranges, Monterrey remains relatively unknown internationally as a hiking destination.
Getting to Monterrey
Most visitors will arrive by plane to General Mariano Escobedo International Airport – the fourth busiest airport in Mexico, located around 15 miles northeast of the city centre. There are regular domestic flights from across Mexico, as well as international routes to the US, Europe, and beyond.
Visitors from the US might choose to drive through the Texas border, though this is a journey I would avoid at night.
Getting in and around Monterrey
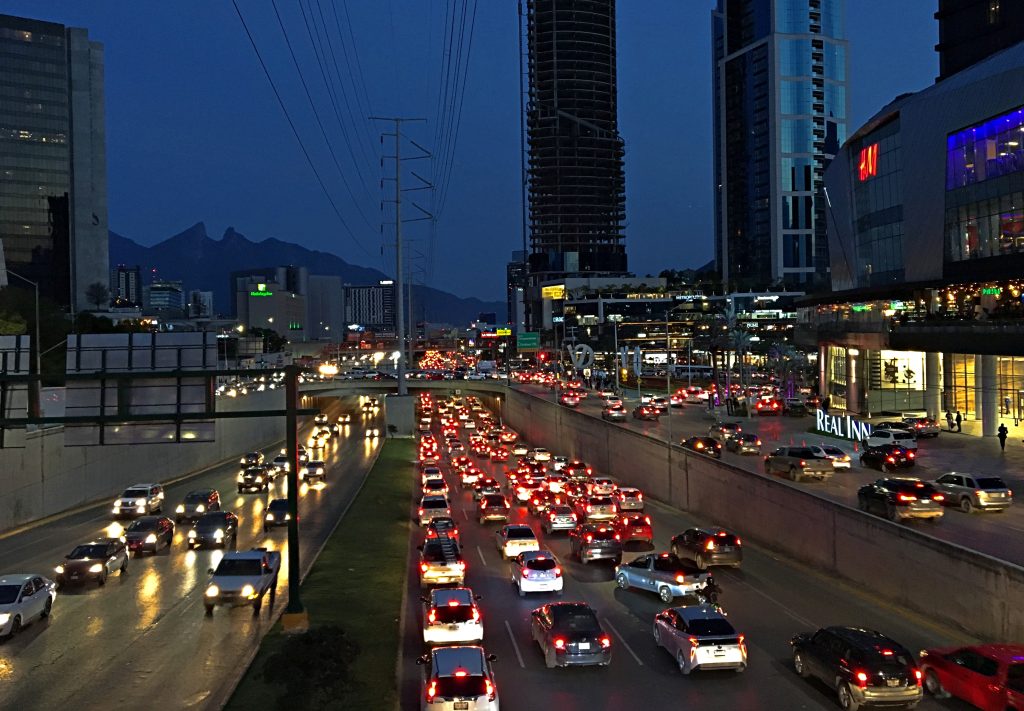
Monterrey is a city built for cars. Hiring a car will give you the most flexibility during your visit, but you should be a confident driver, as locals often treat indicators and traffic lights as optional.
Otherwise, taking an official taxi is the best way to get to your hotel from the airport. The airport operates its own taxi system, with pre-established price bands based on distance. Look for the official taxi ticket machines once you reach Arrivals, where you’ll select the zone you’re travelling to. Ask one of the airport staff (not another taxi company) if you’re not sure which zone your accommodation falls into.
Booking a private taxi in advance usually costs a lot more, so I wouldn’t bother unless there is a large group of you, or you have specific luggage or other requirements.
You can order an Uber from the airport, but it is discouraged in favour of the airport’s own taxi system. Many Uber drivers will accept the journey, but they will usually arrange to collect you outside of the designated pickup zones to avoid any issues or fines.
Once you’re in the city, apps like Uber and DiDi are widely available and are the easiest way to get around. Uber was my main method of transport for years living in Monterrey. Make sure you have the app downloaded in advance and check your phone plan for data usage in Mexico. If you’re not covered, I recommend getting an Airalo eSIM before you travel so you have mobile data as soon as you land.
The best hikes near Monterrey
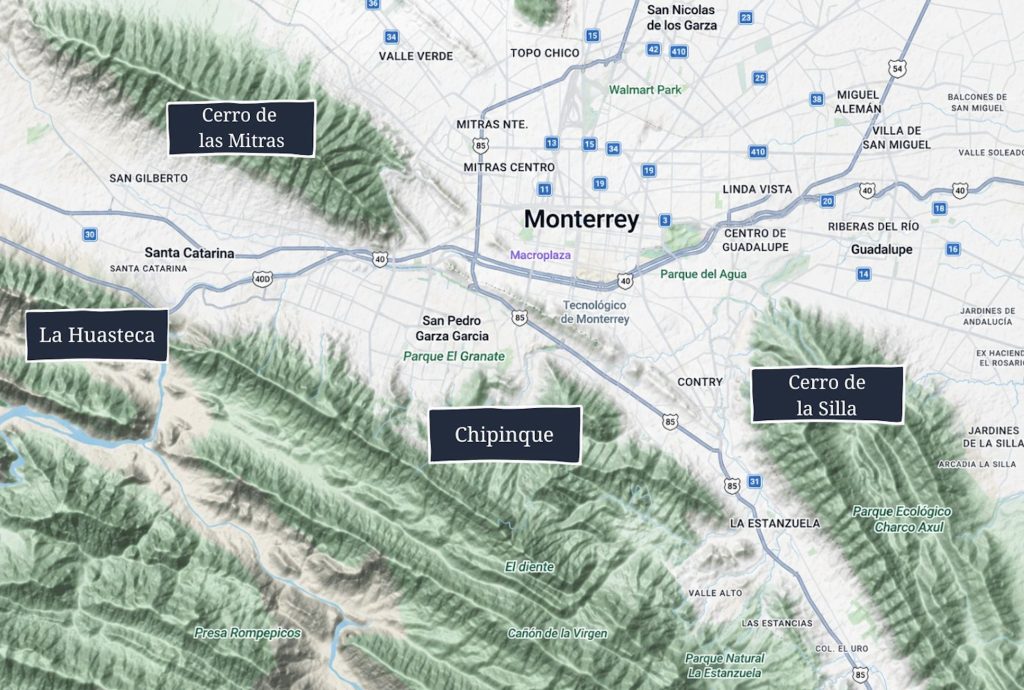
Unlike many hiking destinations, Monterrey isn’t centred around one national park. There are several distinct mountain ranges surrounding the city, each with multiple access points, and routes which can vary substantially in terrain and difficulty.
Generally speaking, the hikes in Monterrey are physically demanding and require proper planning over a “rock up and go” mindset.
The map below shows the main hiking areas close to the city. There are also options further afield if you don’t mind more of a drive – more to come on those later.
At a glance: which hike should I choose?
I don’t have much time and want city views without a long hike
→ El Teleférico, Cerro de la Silla
I want a proper hike with both mountain and city views
→ La Antena, Cerro de la Silla
I want a peaceful hike or trail run immersed in nature
→ El Pinal, Chipinque
I’m an experienced hiker looking for a guided adventure hike
→ La M, Chipinque (Permit required)
I want a short but adventurous hike with big views
→ Pico Horcones, La Huasteca
I want a challenging and technical hike away from the crowds
→ Pico Norte, Cerro de la Silla or Puerto la V, Mitras
I don’t mind a drive and want to visit a local magic town
→ Puerto Gringo, Santiago
I’m up for a weekend adventure – take me to the highest ground possible!
→ La Viga, Cerro San Rafael
Cerro de la Silla
Cerro de la Silla (Saddle Hill) is one of the most emblematic symbols of Monterrey and an unmistakeable part of the skyline. It’s impossible to miss as you drive around – the distinctive outline of its peaks forming the shape of a saddle.
You know that impressive mountain behind Monterrey’s football stadium that wowed millions of fans during the 2026 FIFA World Cup? That’s Cerro de la Silla.
While this mountain is impressive from below, the real reward is looking back down at the city from above.
There are four main hiking peaks on Cerro de la Silla: El Teleférico, La Antena, Pico Norte and Pico Sur. Each varies considerably in terms of difficulty and technicality.
El Teleférico
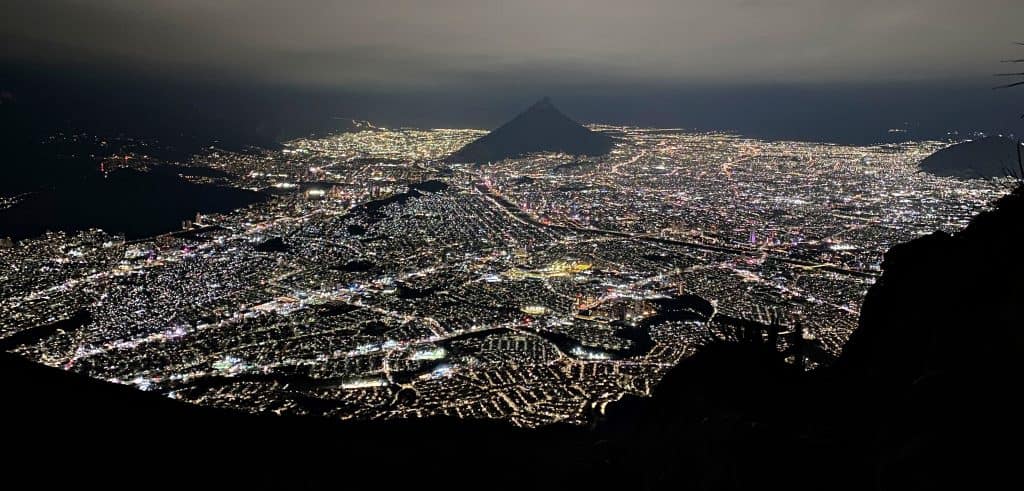
Quick Facts: El Teleférico, Cerro de la Silla
Best for: A short hike with iconic city views
Distance: 5.3km return | Elevation gain: 530m | Highest point: 1,125m
Difficulty: Moderate
Start point: Bosques de La Pastora, Guadalupe
Note: Nearest parking adds ~750m to the route each way
View Route on Komoot
El Teleférico is an abandoned cable car platform that has become one of Monterrey’s most popular hikes and best-known viewpoints. It’s the most accessible of all the hikes in this guide, and is the one I’d recommend to anyone visiting for the first time.
Seeing the city sprawled out beneath you, woven around mountains in every direction, gives you a real sense of what makes Monterrey so unique.
The route follows a concrete/ stone path which is uphill the entire way. After about 2.6km, you’ll see an opening in the hedge on your left which leads to the platform.
The path is easy to follow and not at all technical, but the descent can be slippery as some of the rocks are very worn. Make sure you wear descent trail shoes with grip.
Locals Tip: I’d recommend visiting at dawn or dusk, as seeing the city lit up is part of the magic here. It still feels a little unreal, even after ten years.
La Antena
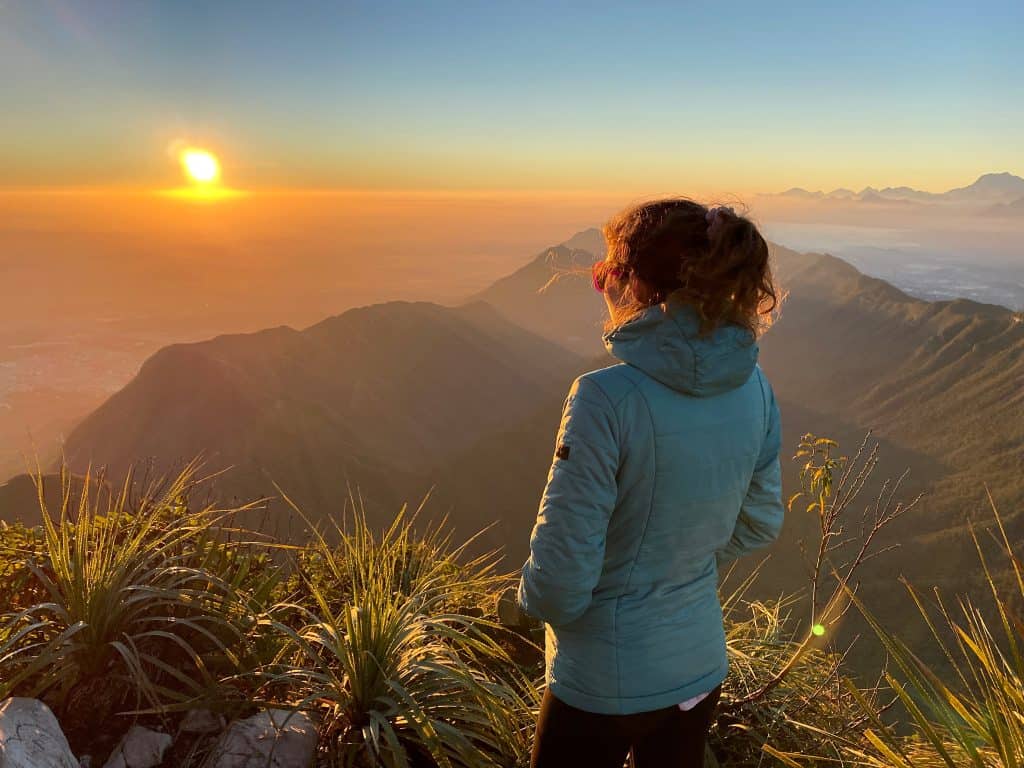
Quick Facts: La Antena, Cerro de la Silla
Best for: A sunrise hike with mountain and city views
Distance: 11.2km return | Elevation gain: 1,140m | Highest point: 1,751m
Difficulty: Moderate
Start point: Bosques de La Pastora, Guadalupe
Note: Nearest parking adds ~750m to the route each way.
View Route on Komoot
This is one of my favourite places for sunrise in Monterrey, and a hike I make time for on every return visit. It’s hard to think of a better start to the day than watching the mountains start to glow on one side while the city slowly wakes up on the other.
The route follows the same path that leads to El Teleférico, before continuing uphill for a further 3km until you reach the end of the concrete path at the base of the Antena.
It looks like the path ends here, but continue through the fence – navigating carefully and watching your step – until you reach a rocky and exposed area which marks the summit. Stay close to the Antena here, and don’t continue any further down the rocks.
From here, the city edges dissolve into wild terrain. You’ll have clear sight of neighbouring Pico Norte, with the Sierra Madre Oriental stretching into the distance.
Pico Norte
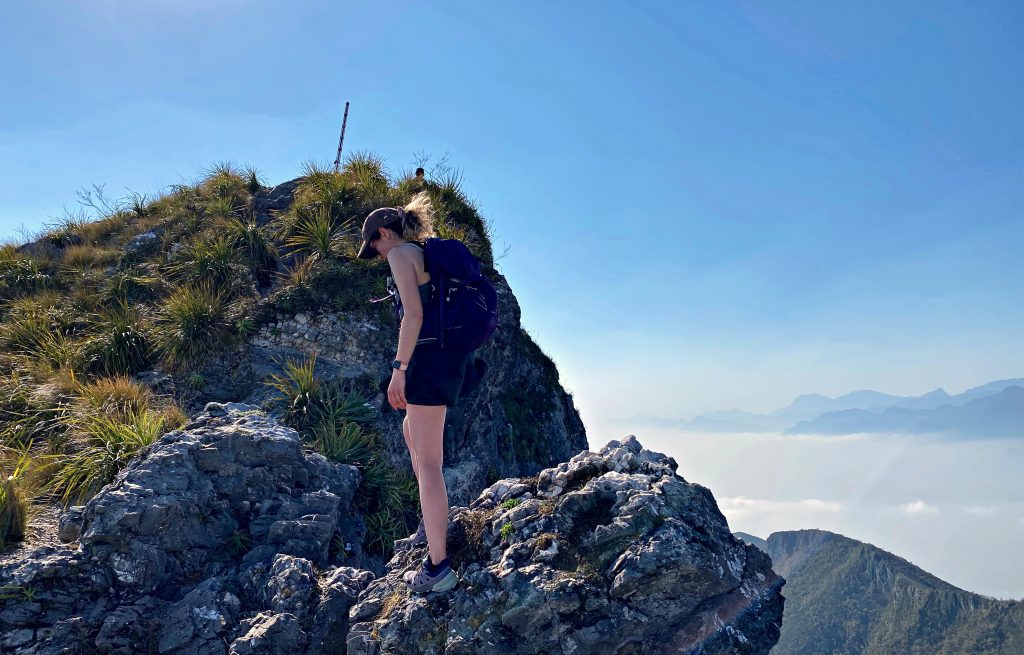
Quick Facts: Pico Norte, Cerro de la Silla
Best for: A wilder hiking adventure
Distance: 5.9km return | Elevation gain: 1,120m | Highest point: 1,820m
Difficulty: Hard
Start point: Hundido Park, Avenida Alfonso Reyes
Note: There’s an alternative longer route via Bosques de La Pastora (Ruta de los Elefantes) – see the full Cerro de la Silla guide for details.
Pico Norte is the highest peak of Cerro de la Silla, and has a far more wild and remote feel than La Antena. The terrain and elevation gain make this a significantly more challenging hike, and one I’d only recommend to experienced hikers.
I’d strongly recommend hiking with a local or guide – this isn’t somewhere you want to get lost.
There are two options for Pico Norte – the one I’d suggest is known as Ruta Homero. It’s a pretty relentless ascent, but more direct than the alternative Ruta de los Elefantes – which takes a diversion from the path leading to La Antena.
You’ll gain height quickly, starting initially through a wooded track with steep and rocky sections. As you near the top and emerge from the trees, the route becomes exposed and the path less clear as you make your way over the ridge.
The views here are similar to La Antena, but the added reward of Pico Norte is the feeling of being in the middle of the Sierra, rather than on the edge of it.
Tip: If views are your priority or it’s your first time in Monterrey, I’d recommend sticking to La Antena, which is considerably less effort for similar gain.
A note on Pico Sur
Pico Sur is the most extreme of Cerro de la Silla’s four peaks, by a long way. This isn’t one for the faint-hearted. Reaching the summit involves extremely exposed sections and sheer drops, with a stretch where you’ll work your way around the mountain using chains bolted into the rock. If that sounds like your level of adventure, look for a qualified local guide and make sure you have all the necessary equipment.
Parque Ecológico Chipinque
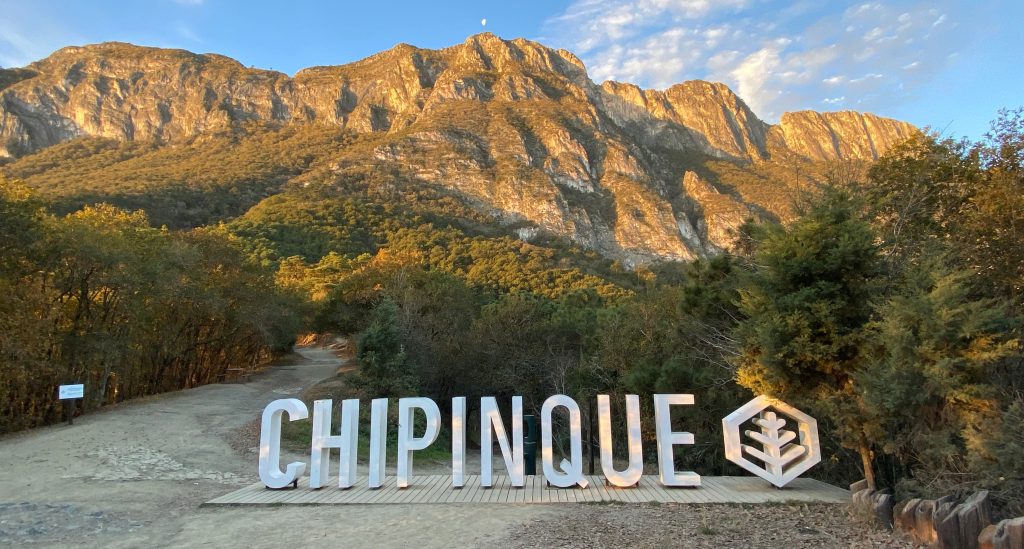
Chipinque is a special place for many reasons (not least because it’s where we got married!). This is somewhere I return to time and time again, and I love it more on every visit.
Located in San Pedro Garza García, Chipinque is home to over 60km of marked trails, which are popular among hikers, cyclists, photographers and trail runners alike.
Despite how easy it is to access, stepping into Chipinque feels like entering a parallel world – one where the coatis are louder than the cars and the blue jays brighter than the billboards.
This is a private park, so unlike the other mountain areas in this guide, access is restricted and you need to buy tickets in advance. As well as hiking within the park, you can reach the summits of the distinctive M-shaped mountain visible from the city – but you’ll require a permit in advance. More on access and summit restrictions below.
El Pinal
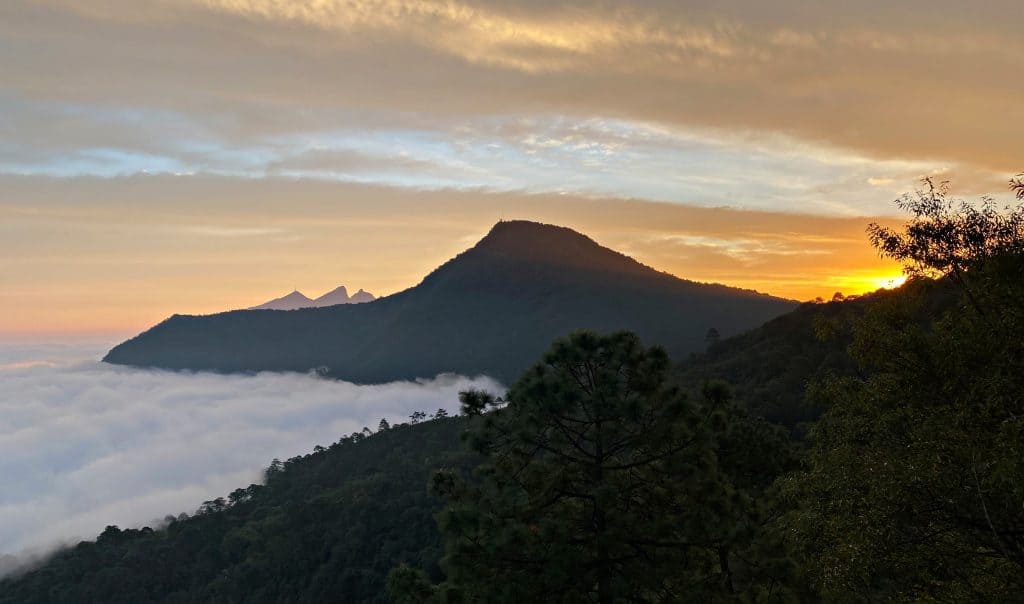
Quick Facts: El Pinal, Parque Ecológico Chipinque
Best for: A nature hike or trail running
Distance: 9.8km return | Elevation gain: 470m | Highest point: 1,473m
Difficulty: Moderate
Start point: La Meseta, Parque Chipinque, San Pedro Garza García
Tickets + Cost: You need to purchase tickets in advance from Chipinque’s website. The entrance fee is $88 MXN for one person + $50 MXN to park.
Note: You will need access to a car to start hiking at La Meseta. If arriving by bus or drop-off, you’ll likely start from La Caseta (park entrance), which extends the hike considerably.
View Route: Starting from La Meseta
View Route: Starting from La Caseta (Park Entrance)
One of the best things about hiking in Chipinque is that once you’re inside the park, you can really hike as much or as little as you like. That said, it’s always a good idea to have a specific destination in mind so you can plan appropriately.
El Pinal is a small lookout point above the tree line, and is a great starting point for experiencing Chipinque for the first time. While you will get impressive views over Monterrey from here, I personally think this is a hike to slow down for, breathe in the smell of pine trees and keep an eye out for wildlife along the way – rather than a race to the top.
Starting from La Meseta, you’ll ease into the hike on soft, gently undulating trails until you reach Puerto del Aire. This is a popular and almost mandatory photo spot, where you’ll find the white Chipinque letters in front of an impressive mountain backdrop.
This marks the start of the climb to El Pinal, where there are two options: a shorter, steeper ascent via Vereda de Cabras (0.9km), or a longer and more gradual uphill via Brecha Al Pinar (2.4km). I like to take the steep path up and have a more leisurely walk back down, but this is entirely up to you.
La ‘M’
Quick Facts: La ‘M’, Parque Ecológico Chipinque
Best for: A guided adventure hike
Distance: 11.6km return | Elevation gain: 700m | Highest point: 2,030m
Difficulty: Hard
Start point: La Meseta, Parque Chipinque, San Pedro Garza García
Restrictions: A guide or someone highly experienced with the route is mandatory for this hike. For a local English speaking guide, I recommend this tour with The Outlands.
Tickets + Cost: If you choose to hike with a guide that does not include the summit permit, you will need to purchase it in advance from Chipinque’s website. Make sure you check before buying whether your guide includes it or not.
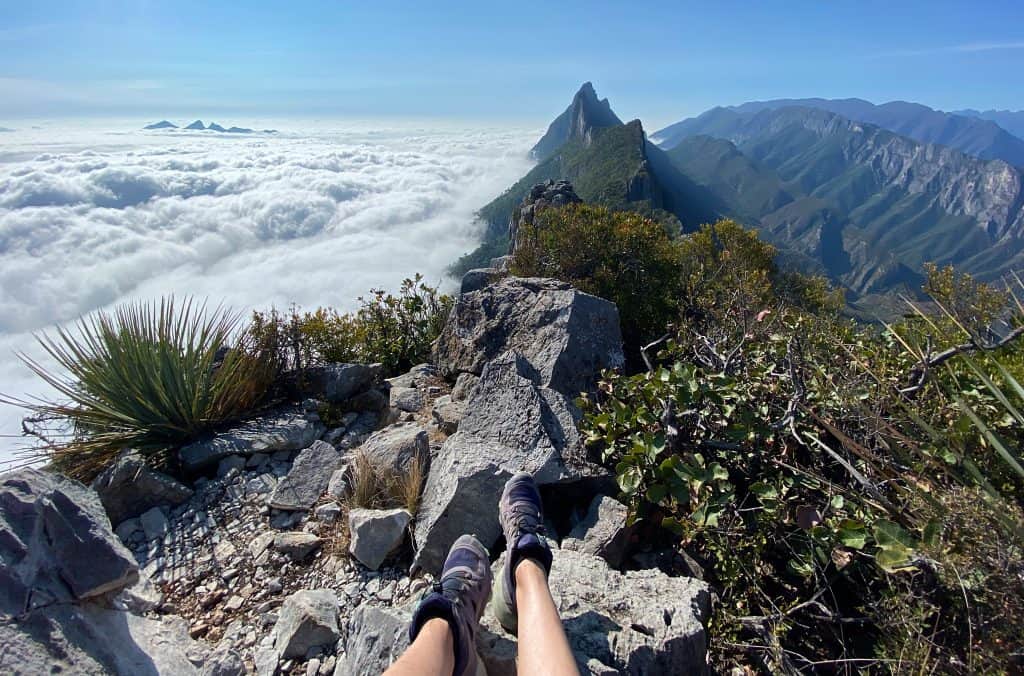
While the trails within Chipinque are beautiful, if you want more of a challenge you can actually reach the summits of the highest peaks – the distinctive M-shaped ones you can see from all around the city.
The hike to La ‘M’ is one of my all-time favourite adventure hikes in Monterrey. We’ve brought our friends here, guided people here, and it’s one that we keep coming back to.
You’ll need a permit and guide (or someone familiar with the route), and helmets are highly recommended for the final summit section. For a local English speaking guide, I would recommend this personalised experience with The Outlands. They provide a helmet for you and prioritise your safety on the mountain. Their reviews on Viator speak for themselves!
The initial ascent is steep but straightforward as you zig-zag your way out of the lower trails and higher into the mountain. This is followed by a couple of rocky scrambles as you climb out of the valley and approach the summit area.
You’ll need to use your hands in a couple of places to safely climb over the rocks, and the very last section requires climbing up a few metal steps bolted into the rock face. Safe to say this isn’t one to try if you are afraid of heights.
On a clear day you’ll have views over the surrounding mountain ranges in every direction. If you’re lucky, you’ll be sitting above the clouds.
La Huasteca
It’s hard not to feel small entering La Huasteca – its vertical limestone walls steep and imposing, with jagged mountain peaks rising above the access road which was once a riverbed.
Located in Santa Catarina, La Huasteca is an ecological park which is popular with cyclists, hikers and climbers. Even if you don’t plan to hike here, it’s worth a drive through to admire the immensity of the canyon walls.
The hikes here tend to be short, but adventurous.
Pico Horcones
Quick Facts: Pico Horcones, La Huasteca
Best for: A short but adventurous hike with big views
Distance: 4.5km return | Elevation gain: 620m | Highest point: 1,460m
Difficulty: Moderate
Start point: La Huasteca
View on Komoot
If there’s one hike you do in La Huasteca, I’d recommend Pico Horcones. If there was a prize for maximum views for (relatively) minimum effort, this hike would win every time.
For a short hike, this is a surprisingly adventurous one. You’ll climb up paths of loose rock before walking through scrubland lined with thorny cacti. There’s a short hands-on scrambling section near the end before you reach the summit ridge.
The ridge is wide enough to buffer the sheer drops on either side and requires careful footing, but isn’t overly technical – it feels exhilarating rather than dangerous.
There’s little shade on this route due to the arid climate, so make sure you start early, take enough water and wear long sleeves to protect yourself from spiky bushes along the trail.
Cerro de las Mitras
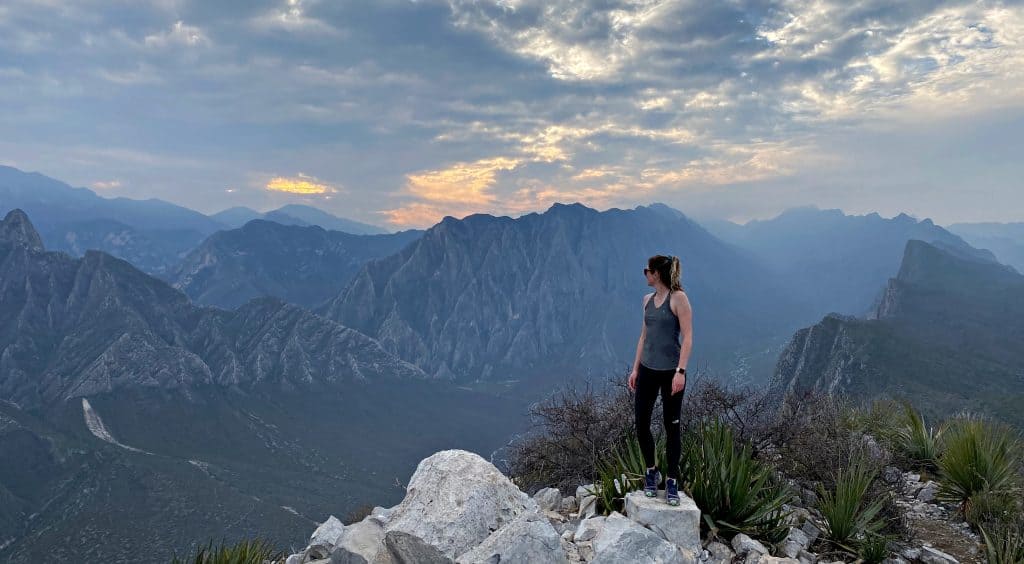
Mitras holds a reputation for being one of the most challenging mountain areas in Monterrey. For experienced hikers wanting to push themselves over different kinds of terrain, Mitras delivers.
This isn’t a place for beginners, and for a first-time visit I’d recommend gaining experience on the other mountains around Monterrey first.
Loose stone waterfalls called chorreaderos are a signature part of the ascent, and the higher peaks are notoriously exposed – requiring hands-on scrambling and sections where you’ll need to use chains to help climb up the rock.
While there is no cost for hiking in Mitras, you will often be asked to sign in by the security guard as a safety precaution. You can leave a tip if you wish, but it is not mandatory.
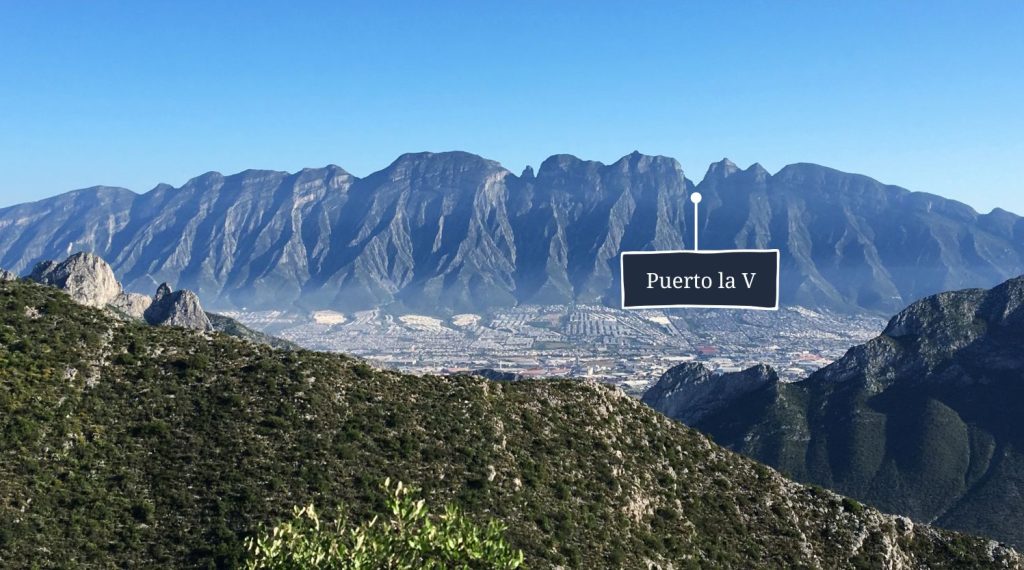
Puerto la V
Quick Facts: Puerto la V, Cerro de las Mitras
Best for: Rugged terrain and a wilder adventure
Distance: 5.6km return | Elevation gain: 900m | Highest point: 1,710m
Difficulty: Hard
Start point: Calle Venecia (near the Kilimanjaro International School), Cumbres
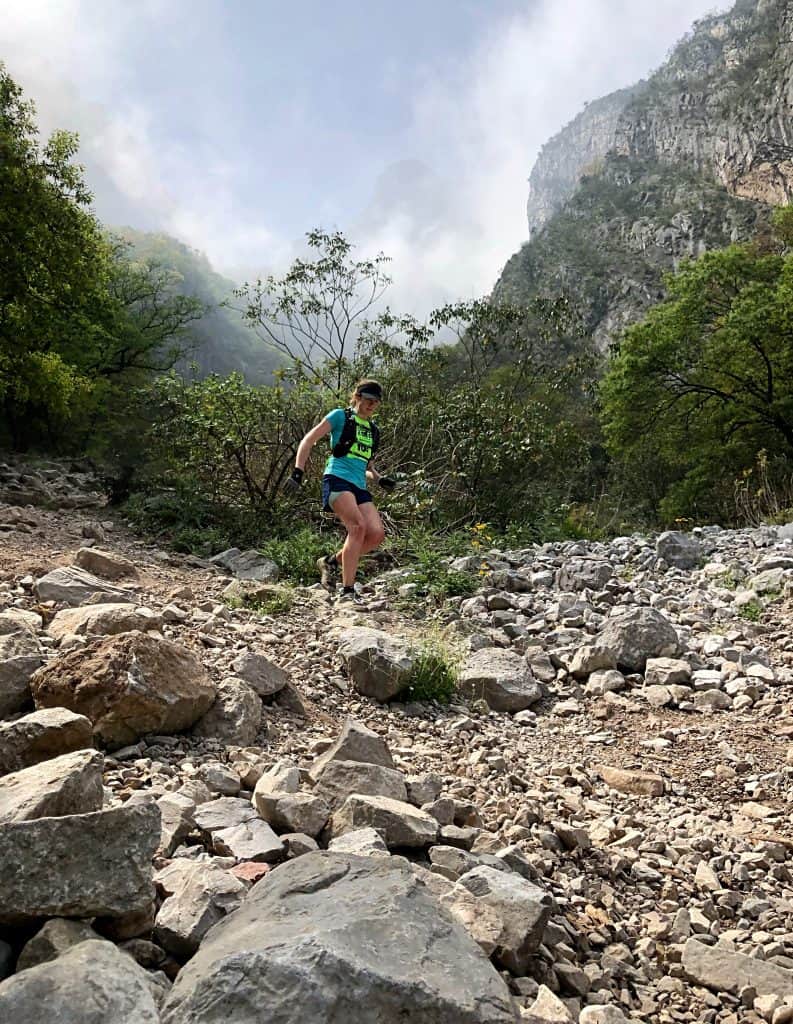
Puerto la V (also known as Puerto del Aire) is a V-shaped mountain pass sitting between two of the higher summits (Pico Perico and Pico Piloto). This is a good way to experience Mitras with some of the thrill and less of the risk.
You’ll still have to navigate a rocky and steep ascent to get there – and you’ll gain height quickly over a short distance – but it’s a much less exposed and hands-on hike than the neighbouring peaks.
While this is a fairly popular route, I’d still recommend going with a guide or someone with experience of this route. Signal is patchy and non-existent in parts of Mitras, so it’s essential not to rely on your phone for navigation.
Hiking beyond the city
If you have the time and flexibility to drive outside of Monterrey, you’ll have access to even more diverse landscapes, higher peaks and fewer crowds.
Puerto Gringo
Quick Facts: Puerto Gringo
Best for: Combining with a visit to the magic town of Santiago
Distance: 13.2km return | Elevation gain: 1,060m | Highest point: 1,676m
Difficulty: Moderate
Start point: Small parking area in El Socavón, Santiago
View on Komoot
About 35km south of Monterrey lies Santiago – one of Mexico’s official pueblo mágicos, a colourful and laid-back town sitting at the foothills of the Sierra Madre Oriental.
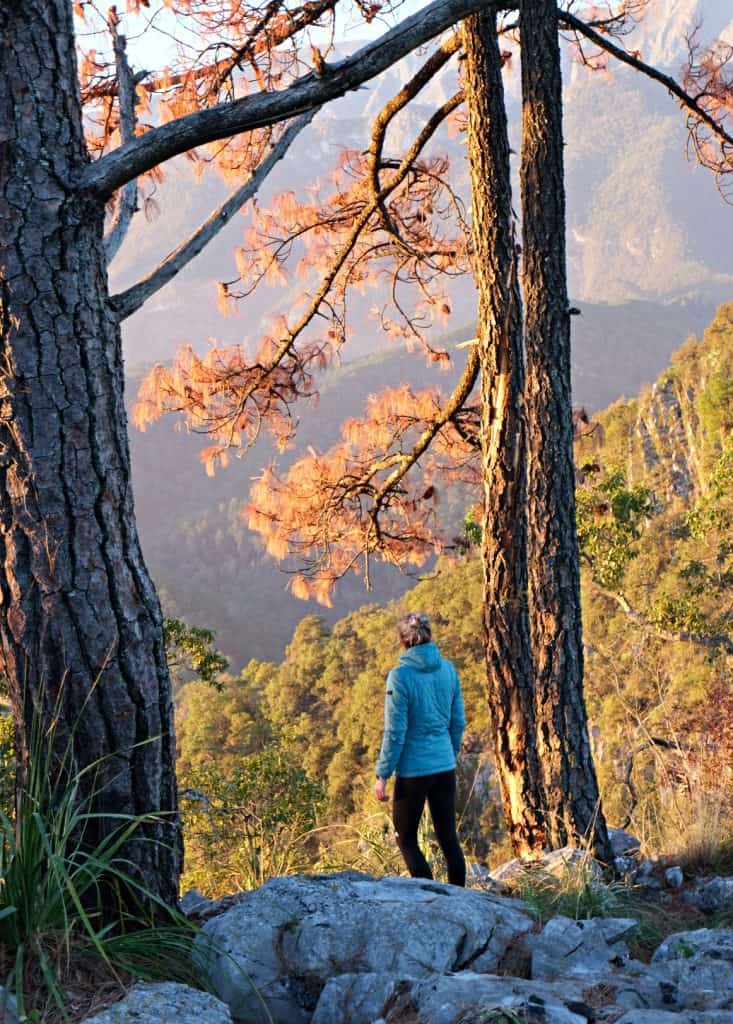
The route to Puerto Gringo follows a continuous uphill along a peaceful and shaded forest track, zig-zagging up the side of the mountain until reaching a rest stop and view point.
This might be the official stop, but the real highlight lies about 2km further on – a short climb up a rocky mound with disused antennas at the top and panoramic views across the surrounding mountain ranges. This spot feels like a local secret, and is one of my favourite places for sunrise when staying in Santiago.
La Viga (Cerro de San Rafael)
Quick Facts: La Viga
Best for: Training at altitude or combining with a road trip
Distance: 9km return | Elevation gain: 1,180m | Highest point: 3,710m
Difficulty: Hard
Start point: La Viga Church, Arteaga, Coahuila
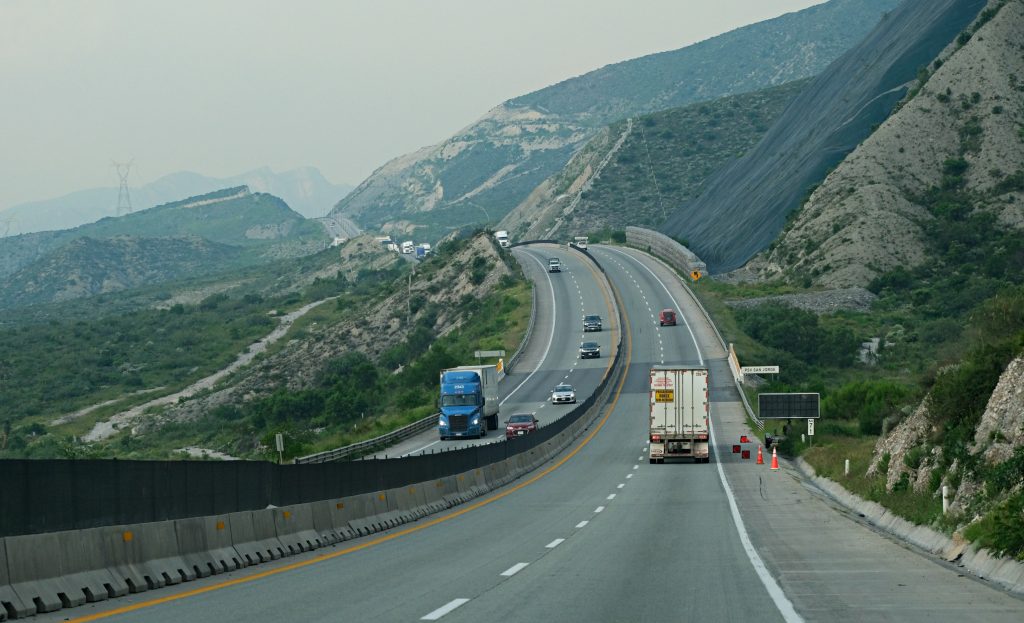
If you’re looking for higher ground, the peaks lying between Arteaga and Nuevo León are a whole new category of adventure. To access these peaks, you’ll head out of Monterrey via the Saltillo-Monterrey highway.
At 3,712m, the summit of La Viga in Cerro de San Rafael is one of the highest peaks in northern Mexico. It’s an excellent training ground for higher-altitude challenges like Mexico’s volcanoes (Pico de Orizaba and Iztaccíhuatl).
The summit often sees snow in winter – something of a novelty compared to the usual soaring temperatures in Monterrey.
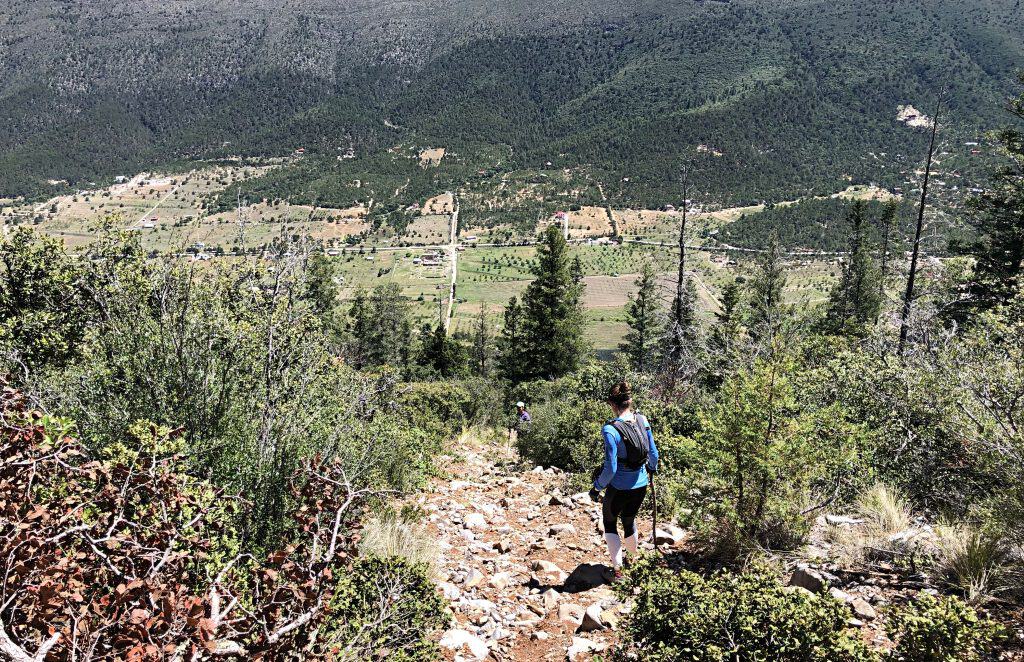
The hike is steep from the outset, with sections of loose terrain which can be slippery on the way down. If you have them, hiking poles would be useful here.
Given the lengthy drive to get here from Monterrey, I’d recommend making a weekend of it and camping nearby to allow for an early start.
What you need to know before hiking in Monterrey
The best time to hike
Monterrey is known for its extreme heat, with summer temperatures regularly exceeding 35°C. For hiking, this generally means avoiding June to August unless you’re prepared for very early starts. September remains warm while bringing a higher chance of rainfall, and the added humidity can make conditions feel even more demanding.
The best time to hike is between October and March, when the air is generally cooler and there’s less chance of rain. February is my favourite time to visit – cool enough that the air feels fresh, but warm enough to appreciate the sun.
Getting to the trails
Public transport to trailheads is extremely limited. Having your own car or booking a ride through Uber or DiDi is the most practical option for most hikes.
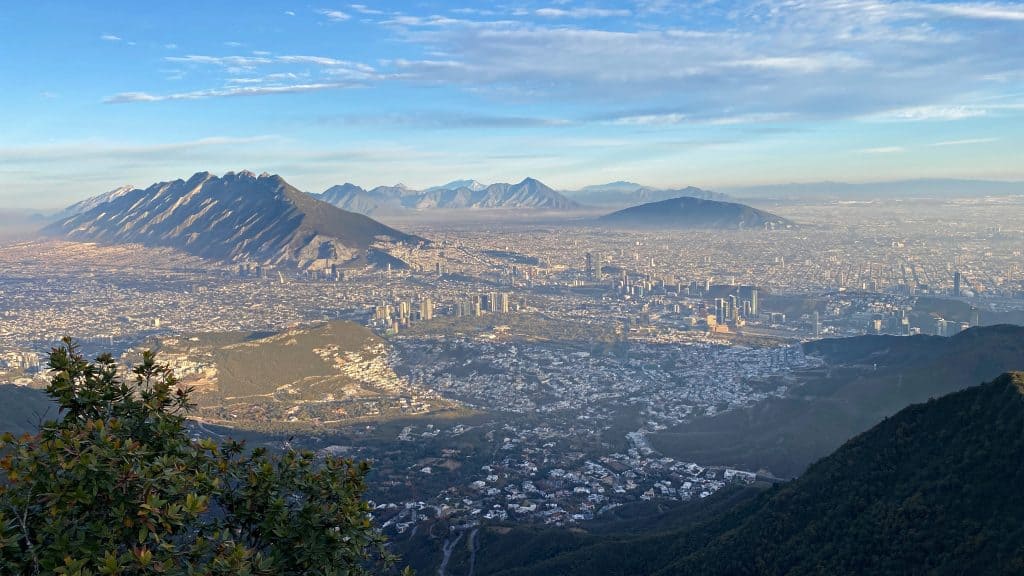
Traffic is part of daily life in Monterrey, particularly during morning and evening rush hours. Starting early usually helps you avoid both the worst of the traffic and the heat, but it’s always worth checking live traffic before you head out.
With the exception of Chipinque, most hikes involve informal roadside parking near the trailheads rather than official car parks. Some routes also begin close to residential neighbourhoods, so you’ll need to be mindful about where you leave your vehicle.
If you’d rather not organise transport yourself, consider booking a guided excursion with pickup included to take logistics off your plate entirely.
Navigation
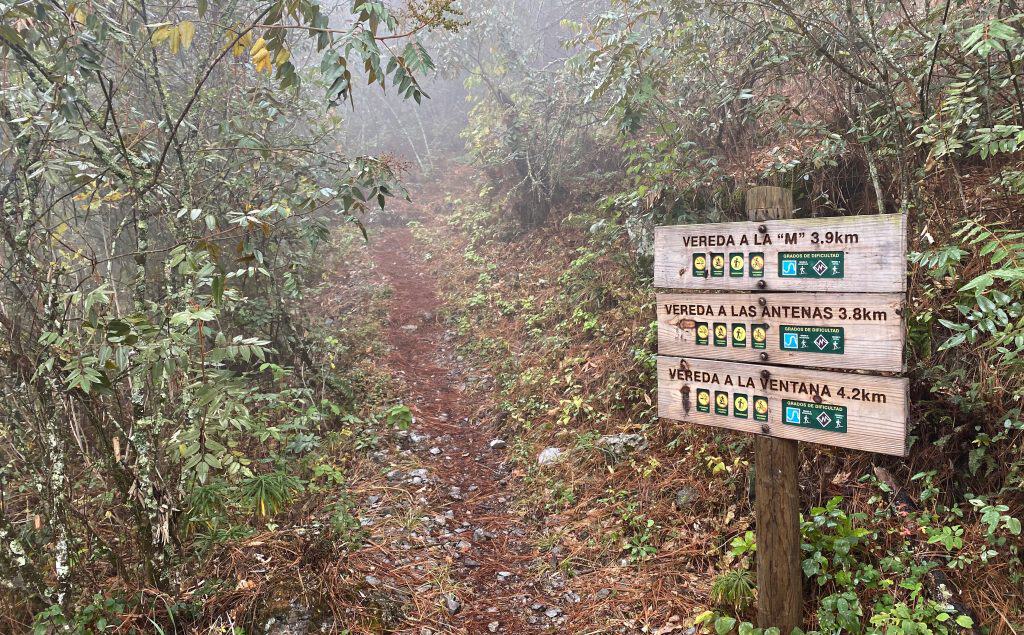
Most trails have very little official signage and use informal markings, such as painted coloured arrows on rocks. This is gradually changing for some of the more popular trails, and it’s becoming more common to see more sophisticated signs at trailheads.
Even so, these should never be relied on as your sole means of navigation and it’s always advisable to hike with someone who knows the route well, and download your planned route in advance. Mobile signal is unreliable on many trails, so make sure you can navigate offline before you set out.
Some routes are available within this collection on the Summits & Skies Komoot profile, and are also linked below within the hike descriptions. For safety reasons, GPS links aren’t included for more technical hikes or where a guide is recommended.
Trail Safety
Monterrey’s mountains can be rough, rocky and wild, with steep sections and often exposed ridges. The tricky terrain coupled with the heat makes hiking here more demanding than it seems on paper.
The main safety risks come from underestimating these conditions and a lack of preparation, such as not knowing the route or being caught off-guard by exposed edges. Make sure you know what to expect, take your time and hike with a local or guide if unsure.
Heat & Sun Exposure
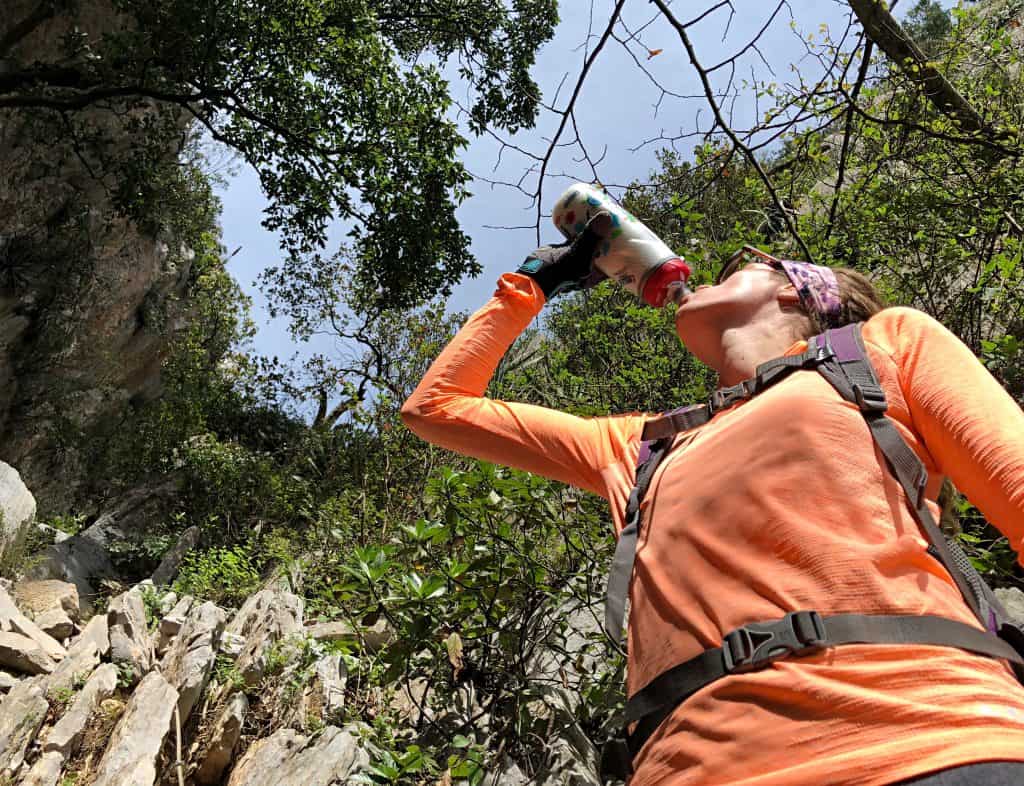
Many hikes are highly exposed to the sun and offer little shade. Water isn’t available along the routes (other than Chipinque), so you’ll need to carry all the water you need. Head to any Oxxo or 7-Eleven before you start and you’ll be able to find Electrolitos or Suerox drinks to help with hydration.
Make sure you always take sunscreen, a sun hat and sunglasses, and consider lightweight, long sleeves for added sun protection. Start as early as possible to avoid being out in the midday heat.
Wildlife
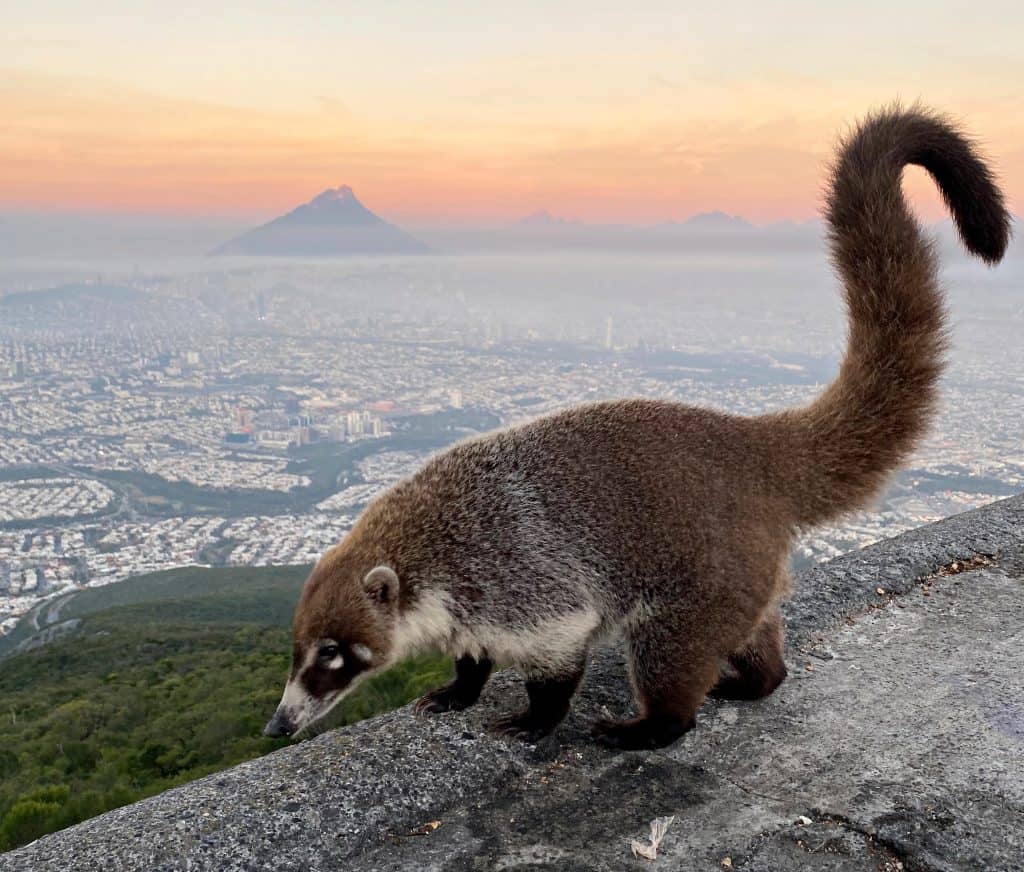
Coatis are regular visitors to popular hiking areas such as Cerro de la Silla and Chipinque. Unfortunately they are becoming a bit too comfortable with humans, increasingly associating them with food. While they certainly look cute, it’s important never to feed them as it disrupts their natural diet and can lead to aggressive behaviour.
You may also spot deer and a wide variety of birds along the trails, especially in Chipinque. Snakes do live in the region, but sightings are uncommon.
Black bear sightings have increased in recent years – not just on the trails but in nearby residential areas, particularly during dry season when food is scarce. Encounters are still relatively rare, but if you do see one, stay calm, give it plenty of space, back away slowly, and never run.
What to wear + pack
For most of the year, you’ll need to dress for the heat and prioritise sun protection and hydration. This means wearing lightweight, breathable clothing and packing light.
- Hiking shorts or lightweight hiking trousers
- Breathable t-shirt (or long sleeve top to protect against branches and the sun)
- Comfortable, worn-in trail shoes with grip
- A day backpack with hydration bladder and electrolytes
- Sun protection (sun hat, sunglasses, sunscreen)
- Food and snacks
- A warmer layer or windbreaker for early starts or higher ascents
- Basic first aid kit
Always check the weather before you hike – especially in autumn and winter months, when rain showers and cooler mornings are more common.
Where to stay
The Metropolitan area of Monterrey spans 16 municipalities, so where you base yourself depends on your budget and priorities. For the best access to the mountains, I’d choose either Barrio Antiguo for charm or San Pedro for higher-end hotels.
El Centro (Barrio Antiguo / Macroplaza) – Central + cultural
A good all-round base in the historic heart of Monterrey, close to cultural attractions, museums, and the Macroplaza.
San Pedro Garza García – Modern + upscale
One of the wealthiest areas in Latin America, with an abundance of luxury hotels, restaurants, and shopping malls. Valle Oriente is one of the most popular neighbourhoods.
Zona Tec – Lively + affordable
Home to Tecnológico de Monterrey, one of Mexico’s top universities. A good option if you want cheaper accommodation and easy access to bars and nightlife.
Hotel Chipinque – Immersed in nature
If you want to wake up inside one of Monterrey’s best hiking areas, Hotel Chipinque offers rustic rooms at the foot of the mountain. Best with a car, and ideal if you want to escape the city entirely.
FAQs
Can I hike with my dog in Monterrey?
Taking your dog hiking in Monterrey is generally not recommended. The extreme temperatures, difficult terrain, and potential disruption to wildlife all make it challenging – and dogs are forbidden in protected areas such as Chipinque Ecological Park.
Is Monterrey safe for hiking?
The mountains themselves are the main thing to respect. The biggest risks come from underestimating the terrain and the heat, both of which are manageable with the right preparation. Stick to popular trails, start early, carry enough water, and let someone know your plans. On more technical routes, hiking with a guide is recommended and significantly reduces risk. For the city itself, use the same common sense you would in any large city.
Do I need a guide to hike in Monterrey?
It depends on the hike. El Teleférico, La Antena, Pico Horcones, and El Pinal are all manageable without one. For La ‘M’, a guide is required – you won’t get a permit without one. For Pico Norte and anything on Cerro de las Mitras, I’d strongly recommend going with someone who knows the routes. Signage is limited and the terrain is more demanding than it looks on paper.
Is Monterrey worth visiting for hiking?
Absolutely – and it’s one of Mexico’s most underrated destinations for it. The city sits inside a natural bowl of mountains with trails ranging from accessible viewpoint hikes to serious full-day technical ascents. What makes it special is the contrast: you can leave a busy city restaurant and be on a mountain trail within 20 minutes.
Final thoughts on hiking in Monterrey
Whether you’re visiting Monterrey for a weekend, part of a business trip, or the start of something bigger, I hope you find as much joy in Monterrey’s mountains as I have over the years. I didn’t realise it at the time, but accepting that job offer would be the start of a decade of adventures.
Just be warned: these mountains have a way of pulling you back.